Care & storage
A simple wardrobe repair kit
Keep a few usable tools for small repairs, with a clear limit on what you attempt.
Start with the repairs you actually encounter
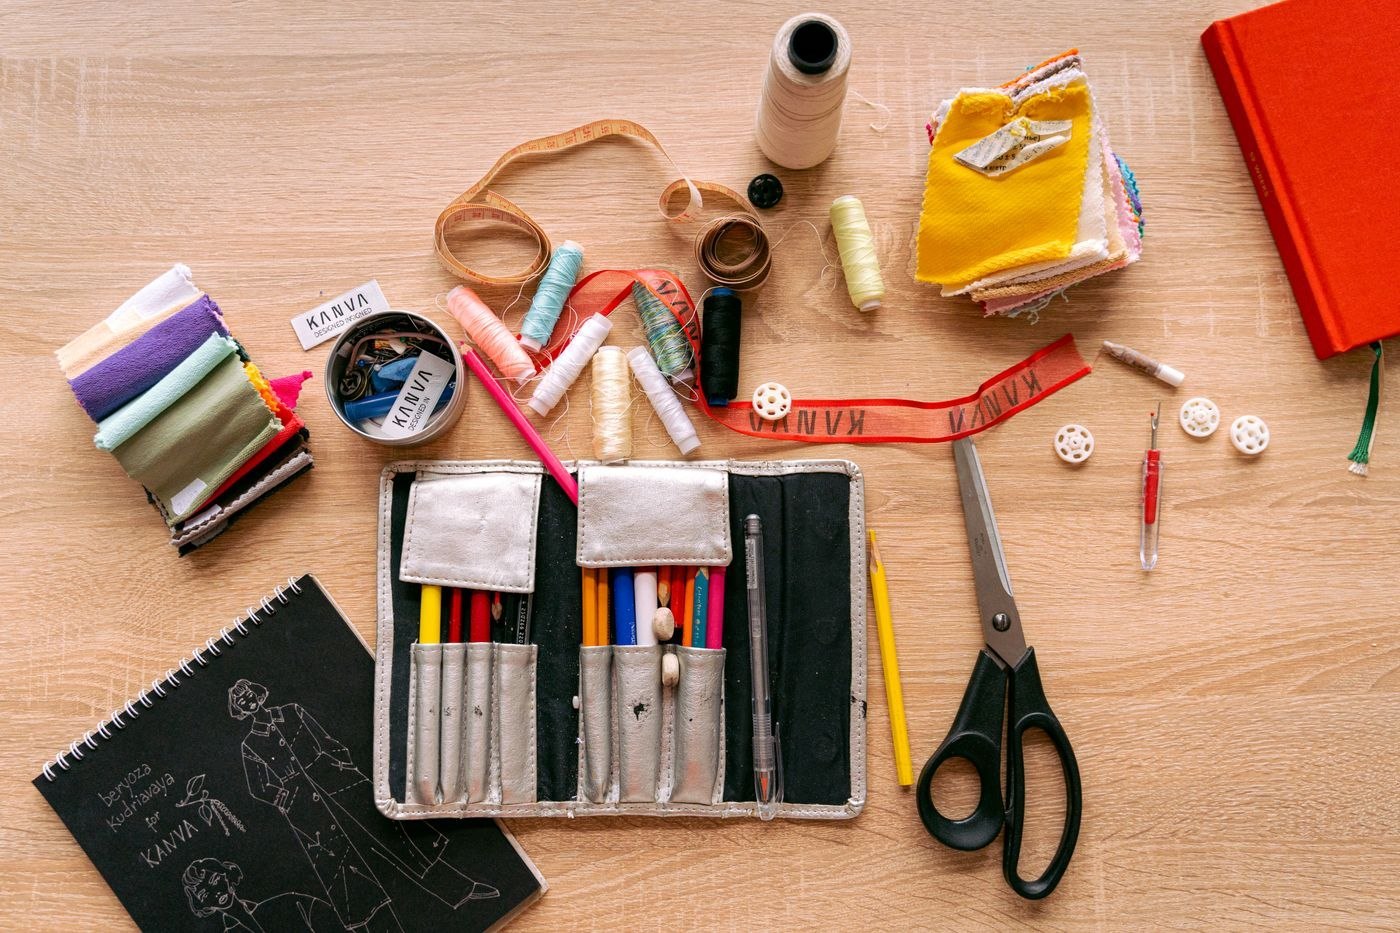
A loose shirt button and a failing jacket zip do not belong to the same level of home repair. Build a kit around jobs you can perform confidently, such as securing an ordinary button or making a temporary note of a loose hem. A drawer full of specialised tools is not useful if the basic needle cannot be found.
Choose needles appropriate to the fabrics you expect to sew, a few relevant thread colours, small sharp sewing scissors and a secure place for pins. Keep spare buttons in labelled packets with the garment name rather than collecting an unidentified pile. A thimble may help with hand sewing, but it does not make every thick seam suitable for forcing through.
Prepare the garment, not just the tools
Work in good light on a clean surface. Examine how the original attachment was made before cutting anything. Photograph it if that will help. Match the thread and button arrangement as closely as practical, and avoid pulling the fabric into a pucker when tightening stitches.
Consider what lies behind the visible surface. Sewing through a jacket lining, pocket bag or waterproof layer unintentionally can create a new problem. A decorative button may have a backing button or a shank that provides space for the fabric thickness. If the construction is unfamiliar, take it to someone who can preserve that detail rather than treating every button as a flat shirt button.
Make a button repair repeatable
Before starting, compare the loose button with a secure neighbouring one. Notice its orientation, whether thread forms a small shank underneath and how the fastening clears the thickness of the cloth. If you know the sewing method, reproduce the useful spacing rather than pulling the button flat so tightly that it becomes difficult to fasten. Practise on spare fabric when the technique is new.
Keep the removed button and any fragments of thread until the replacement is complete. Check that the needle has not caught another layer, then test the fastening gently. A repair is not finished merely because the button cannot fall off; it also needs to close without distorting the garment.
For a loose hem, first determine whether the original construction is stitched, bonded or otherwise specialised. A few hand stitches may be appropriate for one woven trouser but visible or damaging on another. If unsure, secure the garment for transport to a repairer rather than adding adhesive or an arbitrary line of stitching. The kit should help you preserve options, not make the professional repair harder.
Keep small repairs small
A temporary stitch can keep a minor issue from worsening, but do not hide structural damage under an improvised patch and assume it is resolved. Broken zip teeth, torn buttonholes, damaged leather and badly frayed seams deserve assessment. For a jammed zip, avoid pulling harder; trapped fabric needs to be released gently, not torn through.
Store needles and scissors securely, especially around children and pets. Put tools back immediately after working rather than leaving a needle in the garment. A short note attached to an unfinished repair prevents accidentally wearing it with pins still in place. The best kit is one you can use safely and put away completely, not one that encourages attempting every alteration at home.