Care & storage
Air-drying shirts with fewer creases
Use the drying stage to arrange the shirt, without pulling it into a new shape.
Make space first
A drying shirt needs a position that suits its care instructions, not merely whichever gap remains on the rack. Check whether hanging or flat drying is permitted and whether shade is specified. A knitted shirt can behave differently from a woven one, and a heavy wet garment should not be left stretching from two small contact points.
Set up the drying space before the wash finishes. Leave room between garments so the sleeves are not trapped against a neighbouring towel. Position the rack where air can circulate, without blocking a walkway. Direct heat is not a substitute for adequate space, and a radiator can leave parts drying unevenly.
Arrange, rather than stretch
Take the shirt out of the machine and unfold any sleeves that have turned into themselves. Gently smooth the placket, collar and cuffs with your hands. Follow the original seams; tugging hard to eliminate every wet crease can distort the shape you are trying to preserve. A twisted side seam should be straightened lightly, not pulled until the fabric resists.
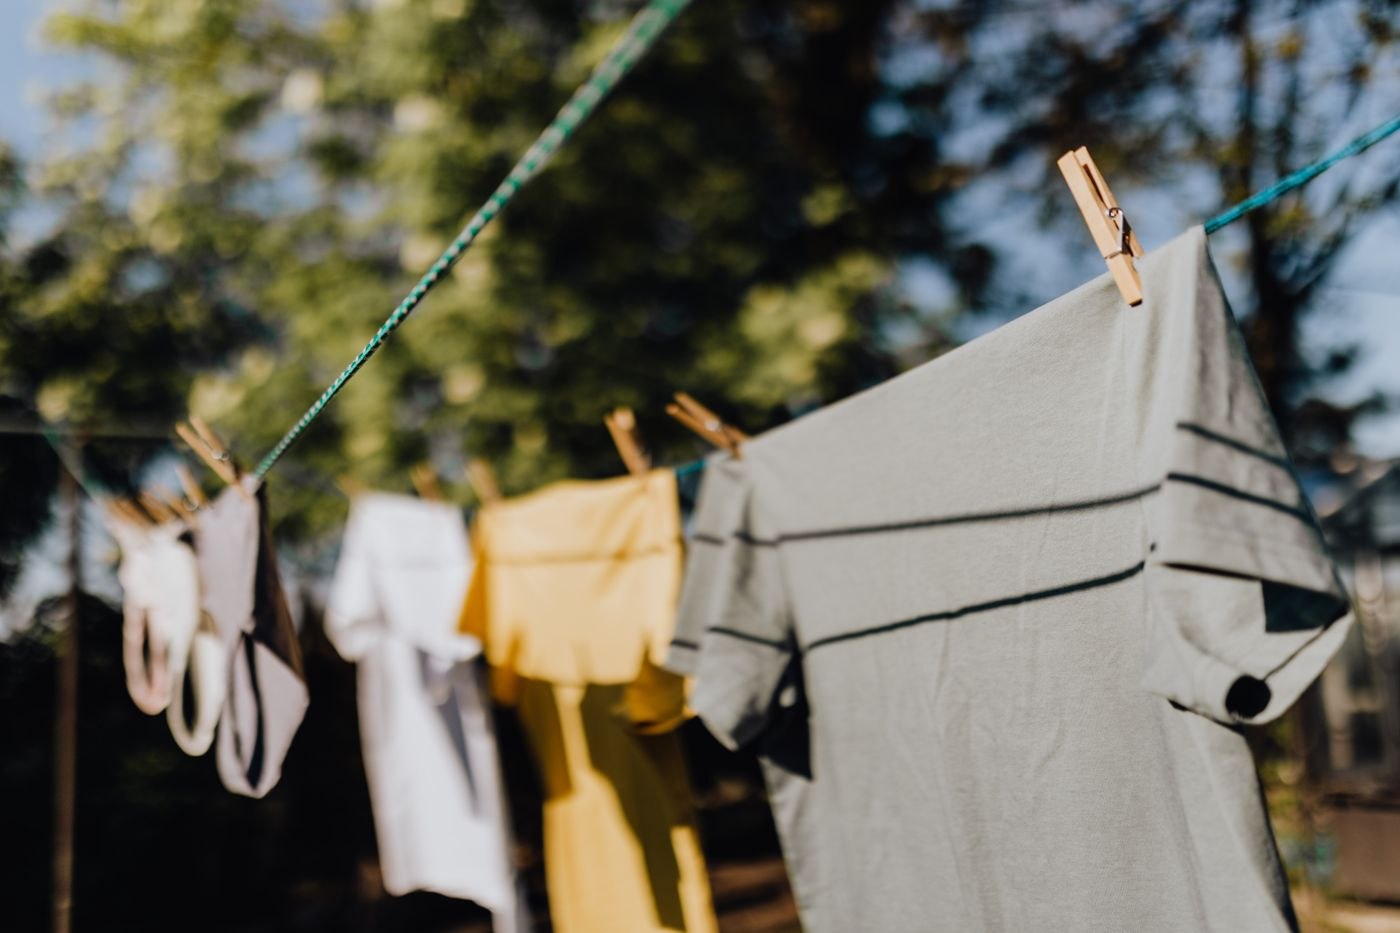
For a shirt that permits hanging, choose a clean hanger whose shoulders support it without projecting into the sleeves. A very narrow wire hanger can concentrate the weight. If using a line, consider where the pegs will leave marks and avoid creating a sharp fold across the most visible part of the garment. Follow a flat-drying instruction even if hanging would save space.
Adapt the arrangement to limited space
If the drying area is small, plan a smaller load rather than layering several wet shirts on the same hanger. Overlap can leave damp patches and put pressure on the fabric. Turn a shirt only when appropriate to its drying method, supporting the garment instead of lifting a heavy wet body by one sleeve.
Look at contact points. A rack bar across the front can create a fold, while a hanger that is too wide can mark the upper sleeve. Changing the support may solve a recurring crease more effectively than adding another ironing step. For a garment that must dry flat, use a suitable surface and keep it arranged without stretching; follow the maker's directions if they specify a particular setup.
Before leaving home, make sure the drying arrangement is stable and does not block ventilation or a route through the room. A crowded temporary setup that gets moved repeatedly can reintroduce twists. When the shirt is dry, remove it rather than letting the next load push against it. The sequence matters as much as a particular hanger or rack.
Finish according to the fabric
Air drying can reduce some avoidable creases, but it cannot promise an iron-free shirt. Linen may still show folds, and a crisp office shirt may need more finishing than a casual overshirt. Judge the result after drying rather than repeatedly handling it while damp.
If ironing is allowed and needed, use the label’s instructions and check the appliance guidance. Do not assume that all shirts benefit from heavy steam. Before putting the garment away, check thick cuffs, collars and seam intersections for remaining dampness. A shirt can feel dry across its broad front while those areas are still wet. Once it is fully dry, give it enough space in the wardrobe to avoid immediately pressing fresh folds into it.